Ever wonder about the cup in your hand? It seems so simple. But this simplicity hides a complex process, and not knowing it makes it hard to appreciate a truly high-quality cup.
Paper cups are made in four main stages. First, paper is coated to make it waterproof. Then, it is printed and cut into shapes. Next, a high-speed machine forms and seals the cup. Finally, the finished cups are rigorously tested for leaks.
I will never forget the first time I stood next to a paper cup forming machine. The speed was shocking. A flat piece of paper went in one side, and in a fraction of a second, a perfectly formed cup shot out the other. It was a blur of mechanical motion. I realized then that making a paper cup isn't just folding paper. It is a work of high-speed, precision engineering. This precision is what creates a cup that you can trust to hold your hot coffee without a single drop leaking.
What Are the Core Steps in the Manufacturing Process?
The journey from a giant paper roll to a finished cup seems magical. But this magic is actually a precise sequence of steps. Getting one step wrong can ruin the entire batch.
The process has four core steps. It starts with coating the paper. Then comes printing and die-cutting. After that is the high-speed forming and sealing. The final step is rigorous quality control to ensure perfection.
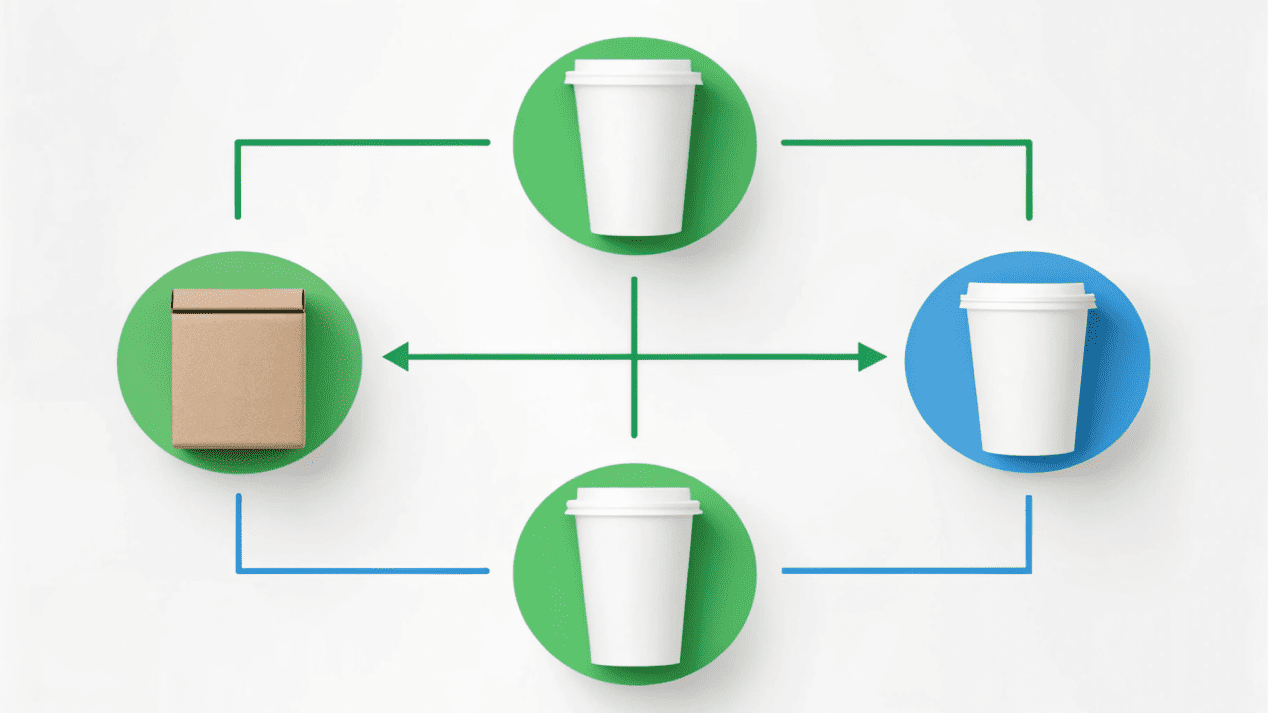
Every single paper cup we produce goes through the exact same journey. It is a highly optimized and automated process designed to create millions of identical, perfect cups. Let's walk through the life of a cup from start to finish.
Step 1: The Foundation (Coating)
Everything starts with huge rolls of raw paperboard. Before we can do anything else, we have to make the paper waterproof. We do this by applying a very thin barrier coating to the paper.
Step 2: The Brand Identity (Printing & Cutting)
Once the paper is coated, it goes to the printing presses. Here, we use food-safe inks to print your brand's logo and design. After printing, a machine with a sharp die cuts the paper into the fan-shaped pieces that will form the cup walls.
Step 3: The Birth of a Cup (Forming & Sealing)
This is where the magic happens. The flat, printed pieces are fed into a forming machine. It wraps the paper into a cone, seals the side, inserts and seals the bottom, and finally rolls the top edge to create a smooth rim for drinking.
Step 4: The Final Check (Quality Control)
No cup leaves my factory without being tested. We check for leaks, strength, and correct dimensions to make sure every single cup meets our high standards.
What Machines Bring a Paper Cup to Life?
You only see the final cup, not the powerful machinery behind it. Not understanding the machines makes it hard to know if a manufacturer has the capability to produce consistent, high-quality products.
Three main machines are crucial. A coating machine adds the waterproof layer. A printing and die-cutting line creates the branded "cup fans." But the heart of the factory is the paper cup forming machine, which assembles everything at incredible speed.
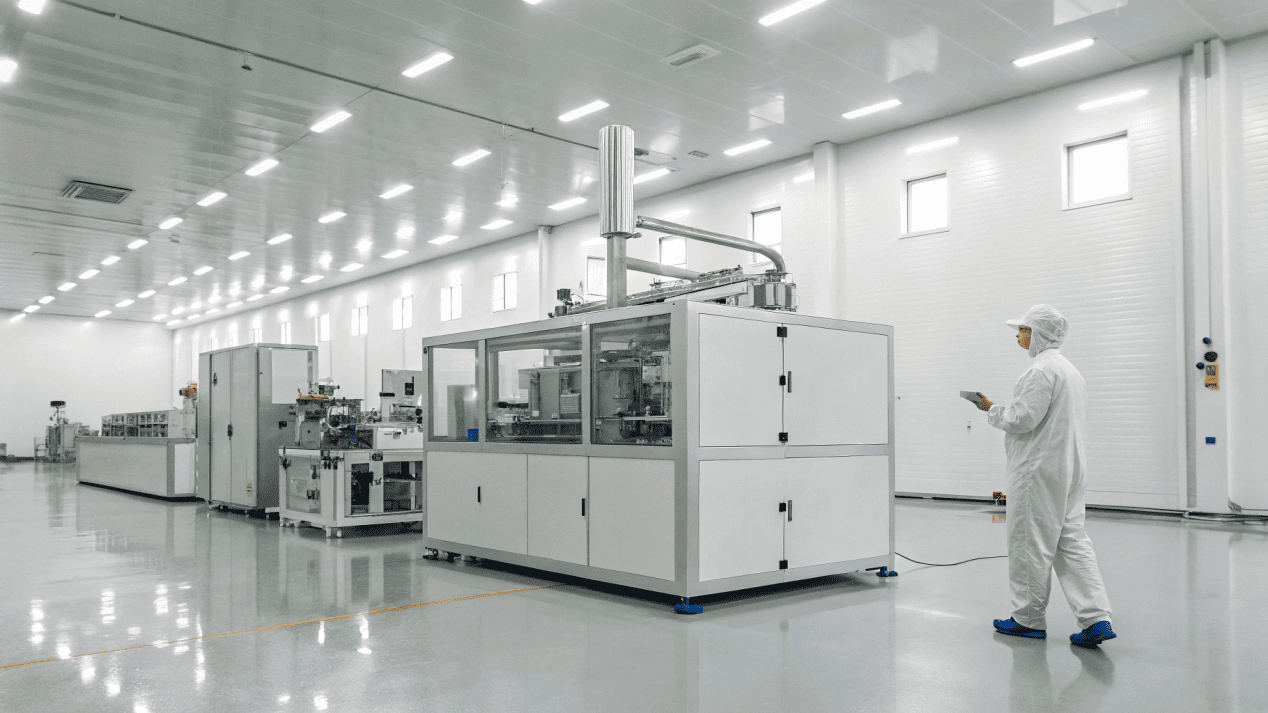
A paper cup factory is a symphony of specialized machines working together. Investing in modern, high-quality machinery is the only way to guarantee a good result. In our facility, three machines do most of the heavy lifting.
The Coating Machine
This is a massive machine that takes raw paperboard and applies the waterproof barrier. It can be an extrusion machine that applies a thin layer of melted plastic like PE or PLA, or a coating machine that applies a more modern water-based barrier. Its only job is to prepare the paper.
The Printing and Die-Cutting Line
This is often two machines working together. First, a high-speed flexographic printing press applies the design with incredible color accuracy. Then, the printed paper is fed into a die-cutting machine. Think of this as a very powerful and precise cookie-cutter that punches out the cup-wall shapes by the thousand.
The Paper Cup Forming Machine
This single machine is the star of the show. It takes the flat "cup fans" and performs a series of high-speed actions: it seals the side seam, inserts and seals the bottom piece, and curls the top rim. It does all this in less than a second per cup.
How Is the Waterproof Barrier Actually Applied?
A paper cup that gets soggy is a complete failure. That thin, invisible waterproof layer is the most important part. But how does it get onto the paper in the first place?
It is the very first step. A huge roll of raw paperboard is fed through a coating machine. This machine applies a micro-thin, perfectly even layer of PE plastic, PLA bioplastic, or a water-based liquid. The coated paper is then rewound.
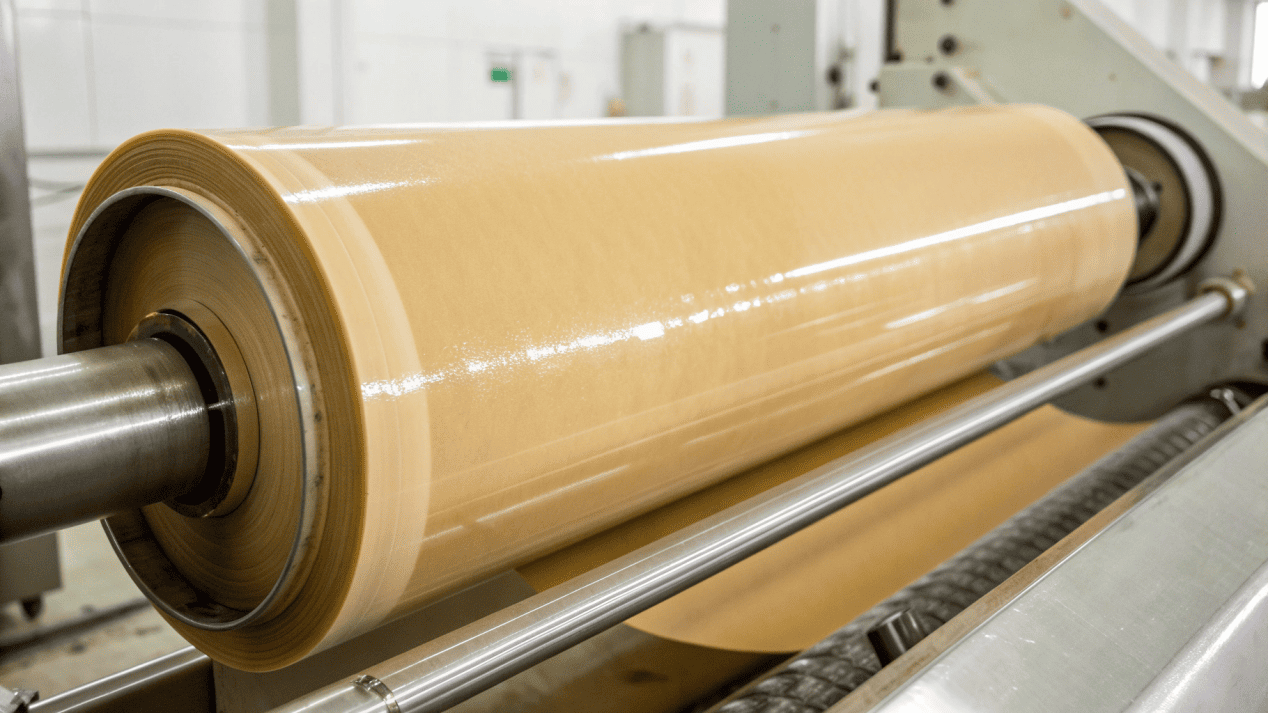
Making paper waterproof is a science. You cannot just spray something on it. The barrier must be perfectly even and bonded securely to the paper fiber. This process, called coating integration, happens before the paper is ever printed or cut. The process starts with a master roll of paperboard, which can weigh over a ton. This roll is unwound and fed at high speed through a coating line.
Depending on the material, the application method changes slightly:
- PE or PLA Coating: We use a process called extrusion lamination. The plastic pellets are melted and pushed through a narrow slot to create a super-thin film. This hot film is then pressed onto the paper, where it bonds instantly.
- Water-Based Coating: For this method, a liquid dispersion barrier is applied to the paper using rollers, similar to painting. The paper then passes through a long drying section to remove the water, leaving a solid, waterproof layer behind.
After the barrier is applied and checked, the now-waterproof paper is rewound into new master rolls, ready for the next stage.
How Are Paper Cups Tested for Quality?
You need to trust that every single an will perform perfectly. A single leaking cup can ruin a customer's day and damage your brand's reputation. How can you be sure of the quality?
Testing is constant. We pull cups directly from the production line and conduct leak tests with colored liquid. We also measure them for perfect dimensions and physically pull them apart to test the strength of the seals.
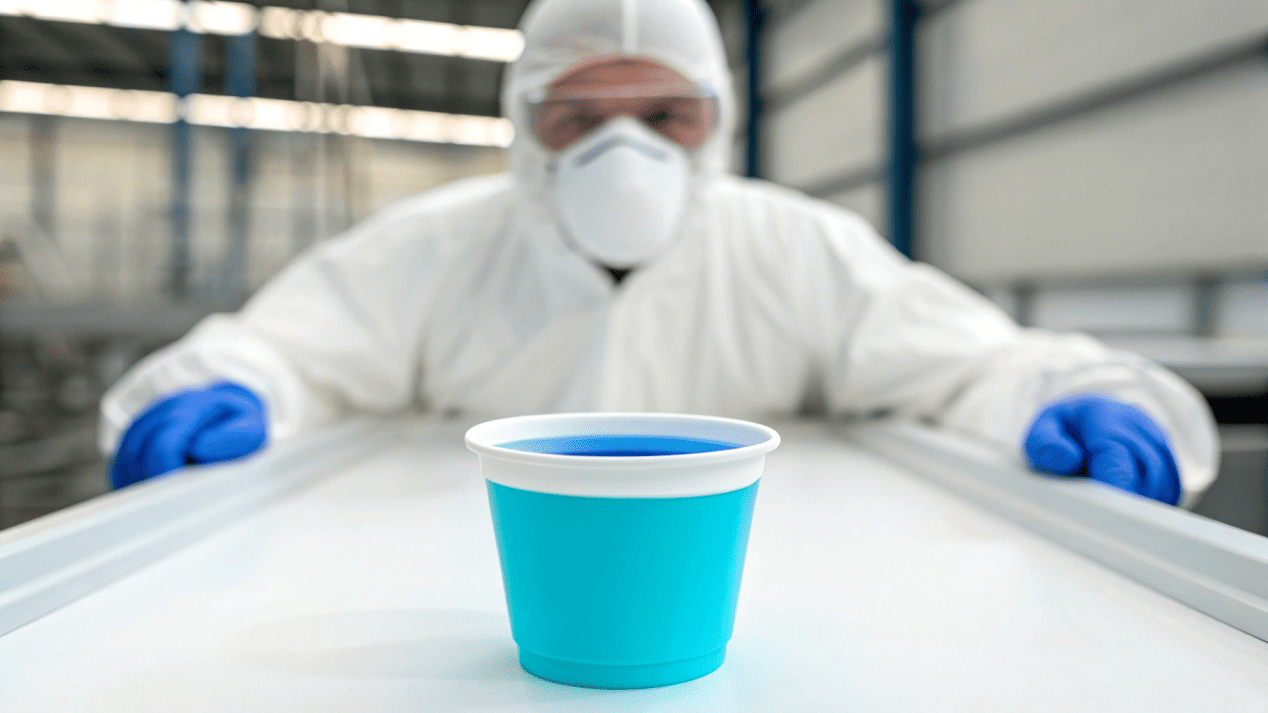
A beautiful cup is worthless if it leaks. That is why quality control is not a final step for us; it is something we do at every single stage of production. My quality control team is obsessed with perfection, and they have a series of tests to ensure it.
The Leak Test
This is the most important test. We randomly select finished cups and fill them with a special colored testing liquid or even hot coffee. We let them sit for a long time, sometimes for hours, and then inspect them on a white surface. We look for any tiny sign of a leak from the side seam or the bottom seal. If we find even one failure, we investigate the cause immediately.
The Strength Test
A cup needs to be strong enough to be handled. We physically test the side and bottom seals by trying to pull them apart. A good seal should be so strong that the paper fiber itself tears before the seal gives way. This ensures the cup can handle the stress of daily use. We also check the rim to make sure it is rolled perfectly, as this adds critical strength to the cup.
Conclusion
Making a paper cup is a precise engineering process. It requires advanced machinery, the right materials, and constant testing to turn a simple roll of paper into a reliable, high-quality product.
